Scene3d.Material
Simple materials
A simple constant color material. This material can be applied to any object and ignores lighting entirely - the entire object will have exactly the given color regardless of lights or scene exposure/white balance settings. Here's a rubber duck model with a constant blue color:
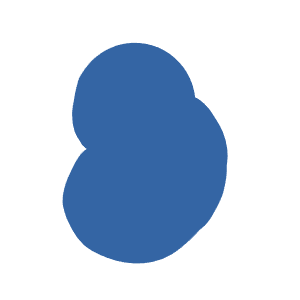
Note that transparency is not currently supported, so any alpha value in the given color will be ignored.
An emissive or 'glowing' material, where you specify the chromaticity
and intensity of the emitted light. The result will be a constant color, but one
that (unlike Material.color) will depend on the exposure and white
balance settings used when rendering the scene.
A perfectly matte (Lambertian)
material which reflects light equally in all directions. Lambertian materials
are faster to render than physically-based materials like Material.metal or
Material.nonmetal, so consider using them for large surfaces like floors that
don't need to be shiny:
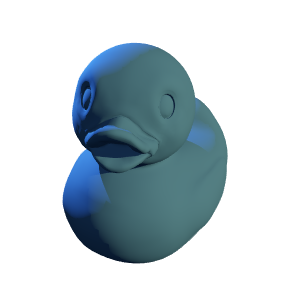
(Note that this doesn't appear to be quite the same blue as before, since the lights themselves are colored.)
Physically-based materials
Physically based rendering (PBR) is a
modern rendering technique that attempts to realistically render real-world
materials such as metals and plastics. elm-3d-scene uses a fairly simple,
common variant of PBR where materials have three main parameters:
- Base color
- Roughness, with 0 meaning perfectly smooth (shiny) and 1 meaning very rough (matte)
- 'Metallicness', usually either 0 or 1, with 0 meaning non-metal and 1 meaning metal
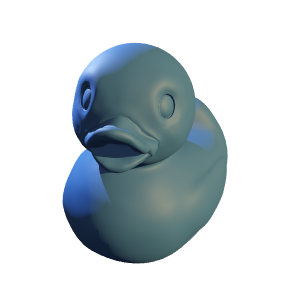
A non-metal material such as plastic, wood, paper etc. This allows for some
nice lighting highlights compared to matte:
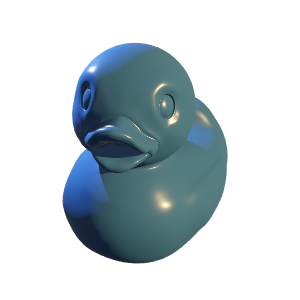
An even shinier version (lower roughness):
A metal material such as steel, aluminum, gold etc. See here and here for base colors of different metals. Here's what 'blue metal' might look like:
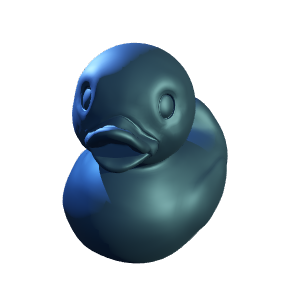
As with nonmetals, roughness can be decreased to get a shinier surface:
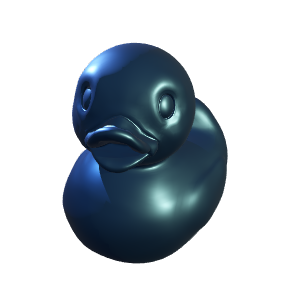
Note that metals are generally more sensitive to light direction than nonmetals, so if you only have directional and/or point lights in your scene then metallic objects will often have a couple bright highlights but otherwise be very dark. This can usually be addressed by using at least a small amount of soft lighting so that there is at least a small amount of light coming from every direction.
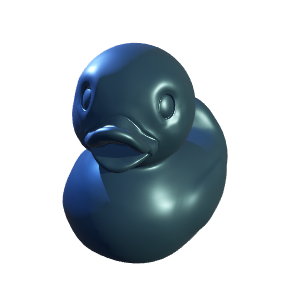
A custom PBR material with a metallic parameter that can be anywhere
between 0 and 1. Values in between 0 and 1 can be used to approximate things
like dusty metal, where a surface can be thought of as partially metal and
partially non-metal:
Textured materials
Textured materials behave just like their non-textured versions above, but require a mesh that has UV (texture) coordinates. Color, roughness and metallicness can then be controlled by a texture image instead of being restricted to constant values.
Note that images used as textures should generally have dimensions that are powers of 2: 2048x2048, 1024x512, etc. Images you get from sites like CC0 Textures will almost always have appropriate dimensions, but if you want to use your own images some cropping/resizing may be needed.
A Texture value represents an image that is mapped over the surface of an
object. Textures can be used to control the color at different points on an
object (Texture Color) but can also be used to control roughness or
metallicness when using a physically-based material (Texture Float).
A special texture that has the same value everywhere. This can be useful
with materials like texturedPbr which take multiple Texture
arguments; sometimes you might want to use an actual texture for color but a
constant value for roughness (or vice versa). For example, you might use
Material.constant blueinstead of loading a Texture Color from an image, or
Material.constant 0.5to use a constant roughness value instead of a Texture Float loaded from an
image.
Load a texture from a given URL. Note that the resulting value can be used
as either a Texture Color or a Texture Float - if used as a
Texture Float then it will be the greyscale value of each pixel that is used
(more precisely, its luminance).
The loaded texture will use bilinear texture filtering. To
use nearest-neighbor filtering, trilinear filtering or to customize other
texture options, use loadWith instead.
A textured plain-color material, unaffected by lighting.
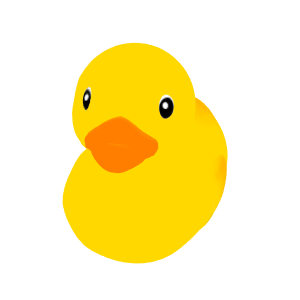
A textured emissive material. The color from the texture will be multiplied by the given luminance to obtain the final emissive color.
A textured matte material.
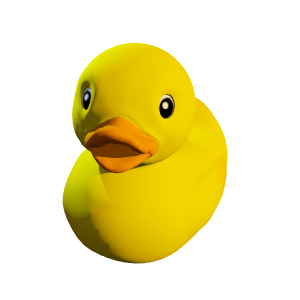
A textured non-metal material. If you only have a texture for one of the two
parameters (base color and roughness), you can use Material.constant
for the other. Here's a model with a textured base color but constant roughness:
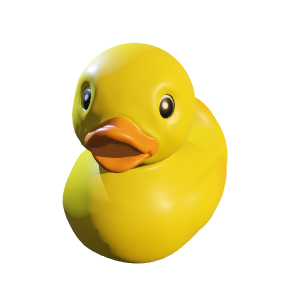
The same model but with roughness decreased for a shinier appearance:
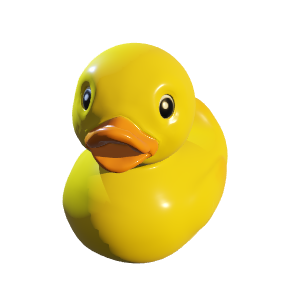
A textured metal material.
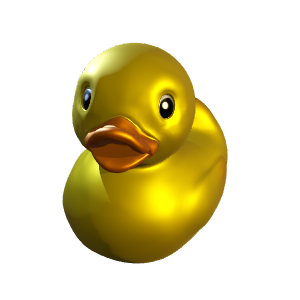
A fully custom textured PBR material, where textures can be used to control
all three parameters. As before, you can freely mix and match 'actual' textures
with constant values for any of the three parameters. For
example, here's a sphere with textured base color and textured metallicness but
constant roughness:
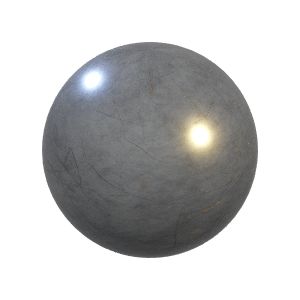
(You can see the effect of the textured metallicness in the small reddish rusty areas on the lower right-hand side.) Here's the same sphere but with a texture also used to control roughness - note how the rough scratches catch light that would otherwise be reflected away from the camera:
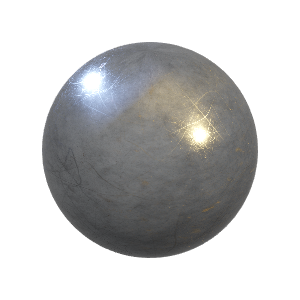
Customized textures
Load a texture with particular options, which control things like what form of texture filtering is used and how out-of-range texture coordinates are interpreted (clamped, wrapped around, etc.).
This module contains a few reasonable defaults (nearestNeighborFiltering,
bilinearFiltering, and trilinearFiltering)
but you can directly construct your own custom options record if desired.
Unfortunately there's no one set of texture options that works well in all
cases, so you may need to experiment to see what works best in your particular
scene.
Don't interpolate between texture pixels at all when rendering; each on-screen pixel will simply get the color of the nearest texture pixel. This can be useful if you're deliberately going for a 'pixelated' look and want texture pixels to show up exactly on screen without any blurring. In most cases, though, using nearest-neighbor filtering will lead to unpleasant jagged edges (this is a zoomed-in portion of the Elm logo applied as a texture to a simple quad):

Note that the upper-right edge is smooth because that's actually the edge of the textured quad, instead of an edge between two different colors within the texture.
Nearest-neighbor filtering is implemented as:
nearestNeighborFiltering =
    { minify = WebGL.Texture.nearest
    , magnify = WebGL.Texture.nearest
    , horizontalWrap = WebGL.Texture.repeat
    , verticalWrap = WebGL.Texture.repeat
    , flipY = True
}Apply some simple texture smoothing; each on-screen pixel will be a weighted average of the four closest texture pixels. This will generally lead to slightly smoother edges than nearest-neighbor filtering, at least for cases where one texture pixel is approximately the same size as one screen pixel:

No mipmapping is used, so pixelation/aliasing may still occur especially for far-away objects where one texture pixel is much smaller than one screen pixel.
Bilinear filtering is implemented as:
bilinearFiltering =
    { minify = WebGL.Texture.linear
    , magnify = WebGL.Texture.linear
    , horizontalWrap = WebGL.Texture.repeat
    , verticalWrap = WebGL.Texture.repeat
    , flipY = True
}Interpolate between nearby texture pixels as with bilinear filtering, but also interpolate between the two nearest mipmap levels. This will generally give the smoothest possible appearance, but may also lead to excessive blurriness:

Trilinear filtering is implemented as:
trilinearFiltering =
    { minify = WebGL.Texture.linearMipmapLinear
    , magnify = WebGL.Texture.linear
    , horizontalWrap = WebGL.Texture.repeat
    , verticalWrap = WebGL.Texture.repeat
    , flipY = True
    }
Type annotations
The functions in this module all return values with a 'free' type parameter -
for example, the return type of Material.matte is
Material coordinates { a | normals : () }This makes most code simpler (it means that such a material can work with any
kind of mesh that has normal vectors, even if for example that mesh also has
texture coordinates) but makes it tricky to store a Material value in your own
data structures without those data structures also needing a type parameter.
The coordinates type parameter can usually be set to just WorldCoordinates
(a type you will need to define yourself), but the a is a bit trickier.
The type aliases and functions below help deal with this problem in a convenient way. To store a material in a data structure, you can use one of the type aliases. For example, the material above might be stored as a
Material.Uniform WorldCoordinatesThen, if you need to turn this value back into a
Material coordinates { a | normals : () }(so that you could apply it to a textured mesh, for example) you can use
Material.uniform to do so. You can think of Material.uniform material as
saying "yes, I know this is a uniform material, but I still want to apply it to
this textured mesh".
A material that requires UV (texture) coordinates but not normal vectors:
texturedColor or texturedEmissive.
A material that requires both normal vectors and UV coordinates:
texturedMatte, texturedMetal,
texturedNonmetal or texturedPbr.
Convert a Plain material (that can only be applied to a Plain
mesh) back into one that can be applied to any mesh.
Convert an Unlit material (one that can only be applied to an Unlit
mesh) back into one that can be applied to any mesh that has texture
coordinates.
A
Materialcontrols the color, reflectivity etc. of a given object. It may be constant across the object or be textured.The
attributestype parameter of a material is used to restrict what objects it can be used with. For example,Material.mattereturns a value with anattributestype of{ a | normals : () }; you can read this as "this material can be applied to any mesh that has normals".The
coordinatestype parameter is currently unused but will be used in the future for things like procedural textures defined in a particular coordinate system; those textures will then only be able to be applied to objects defined in the same coordinate system.